GITHUB, JEKYLL
I finally got around to looking into GitHub Pages and Jekyll, and this website is the end result.
I’ve had my own domain name for many years but have only ever used it for email addresses, never for a website. I couldn’t think of any content for it and, to be honest, I didn’t want to pay the hosting fees.
In my spare time I’ve been learning how to develop Apple iOS apps using Swift, and I now have a number of my own apps on my iPhone - see my Projects page. Although the apps were written to solve a particular need I had, I thought it might be interesting to release one or more of them on Apple’s App Store for other people to try. However, in order to submit an app for inclusion in the App Store, I must provide URLs for a support page and a privacy policy. So, I need a website.
I recently discovered that I could host a website for free on GitHub using GitHub Pages. And, using Jekyll, I could easily generate and maintain a static website. This is exactly what I was looking for.
Googling for GitHub Pages and Jekyll returned lots of information and tutorials on how to go about hosting a static website on GitHub and how to use a Jekyll Theme to customise it to my personal needs.
I decided on the following steps to create my website:
-
Create a bare minimum website at the default GitHub Pages URL. For me this would be http://gavinjerman.github.io.
-
Redirect the default GitHub Pages domain to my custom domain jermware.net hosted by 123 Reg.
Once I had a minimal website up and running using my custom domain, I could spend some time choosing and customising what theme to use from one of the many freely available Jekyll themes. After that, it would just be a case of adding the content!
Although the information to needed complete these steps is available elsewhere online, for completeness, here’s what I did.
Step 1:
-
I followed the instructions at GitHub Pages to create a public repository named gavinjerman.github.io.
I did not select the ‘Initialize this repository with a README’ option. I wanted to keep the repository as clean as possible since I would eventually be overwriting it with a custom theme.
-
I did not follow the instructions to ‘Clone the respository’ and create an index.html file. Instead, I chose the creating a new file link in the ‘Quick setup - if you’ve done this kind of thing before’ section.
 I named the file index.html with the contents ‘Hello World’ and committed the new file.
 My repository looked like this:
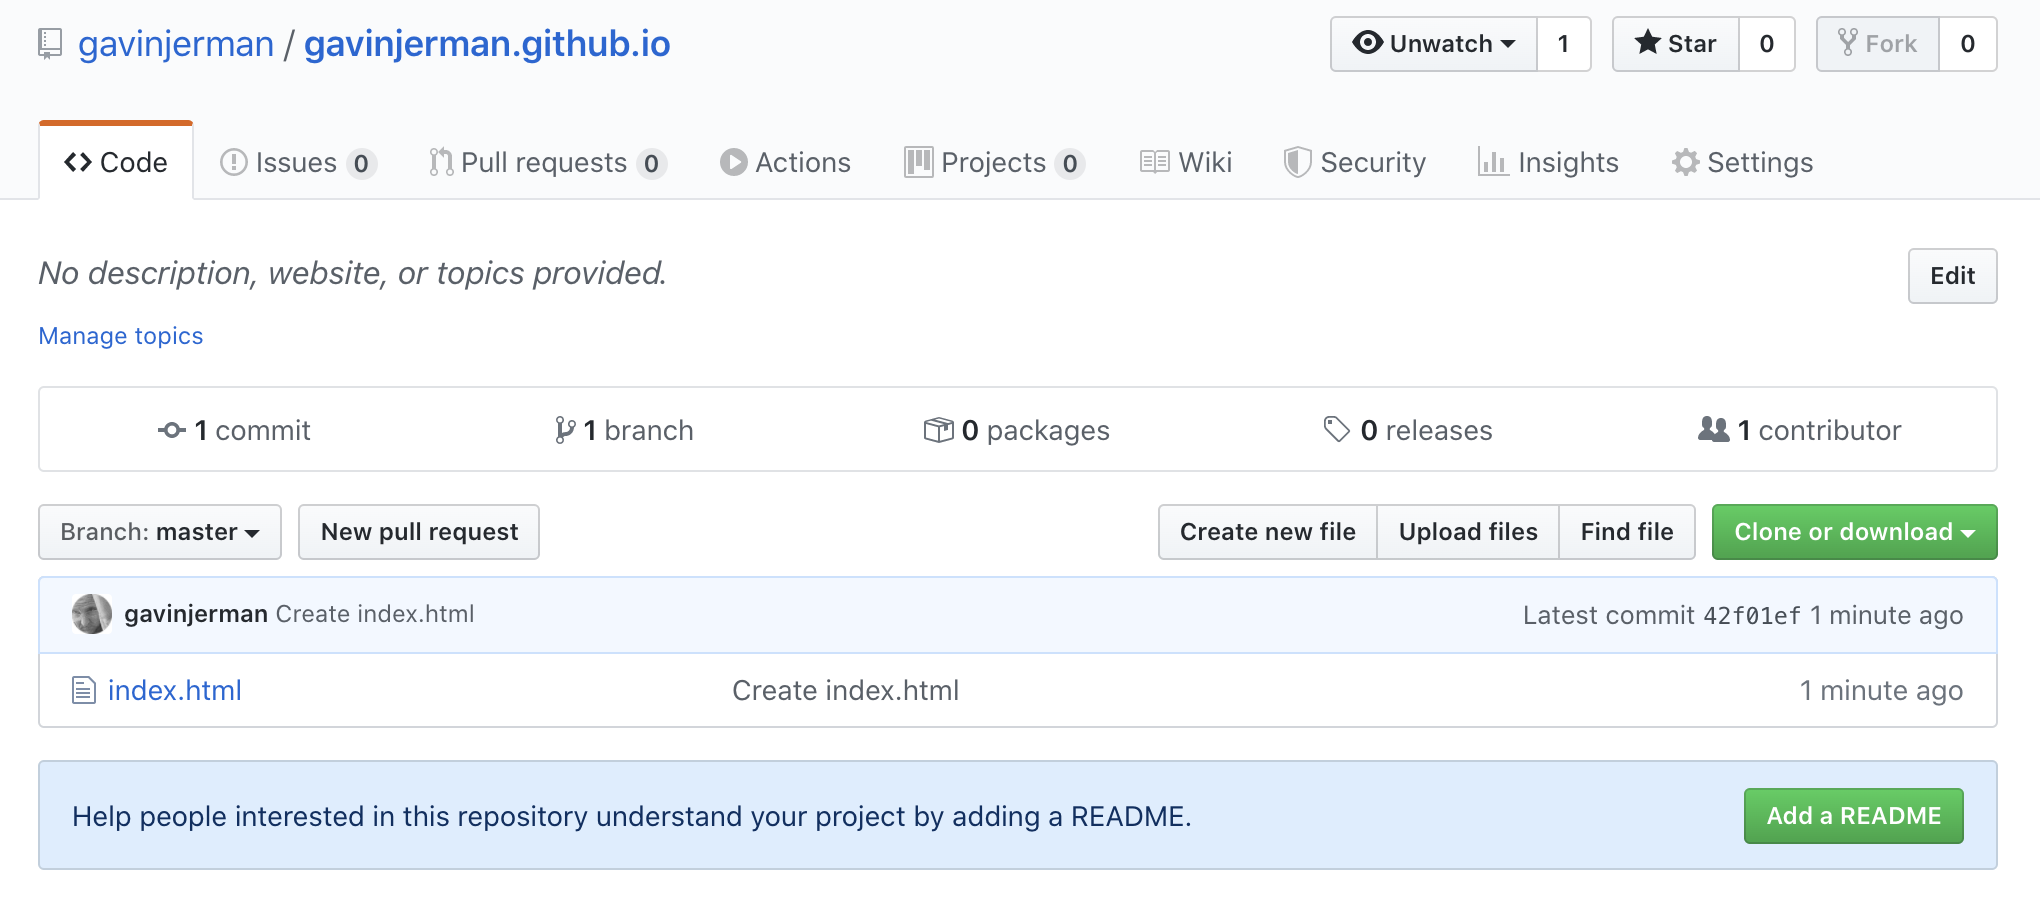
-
At this point the website was live at http://gavinjerman.github.io: 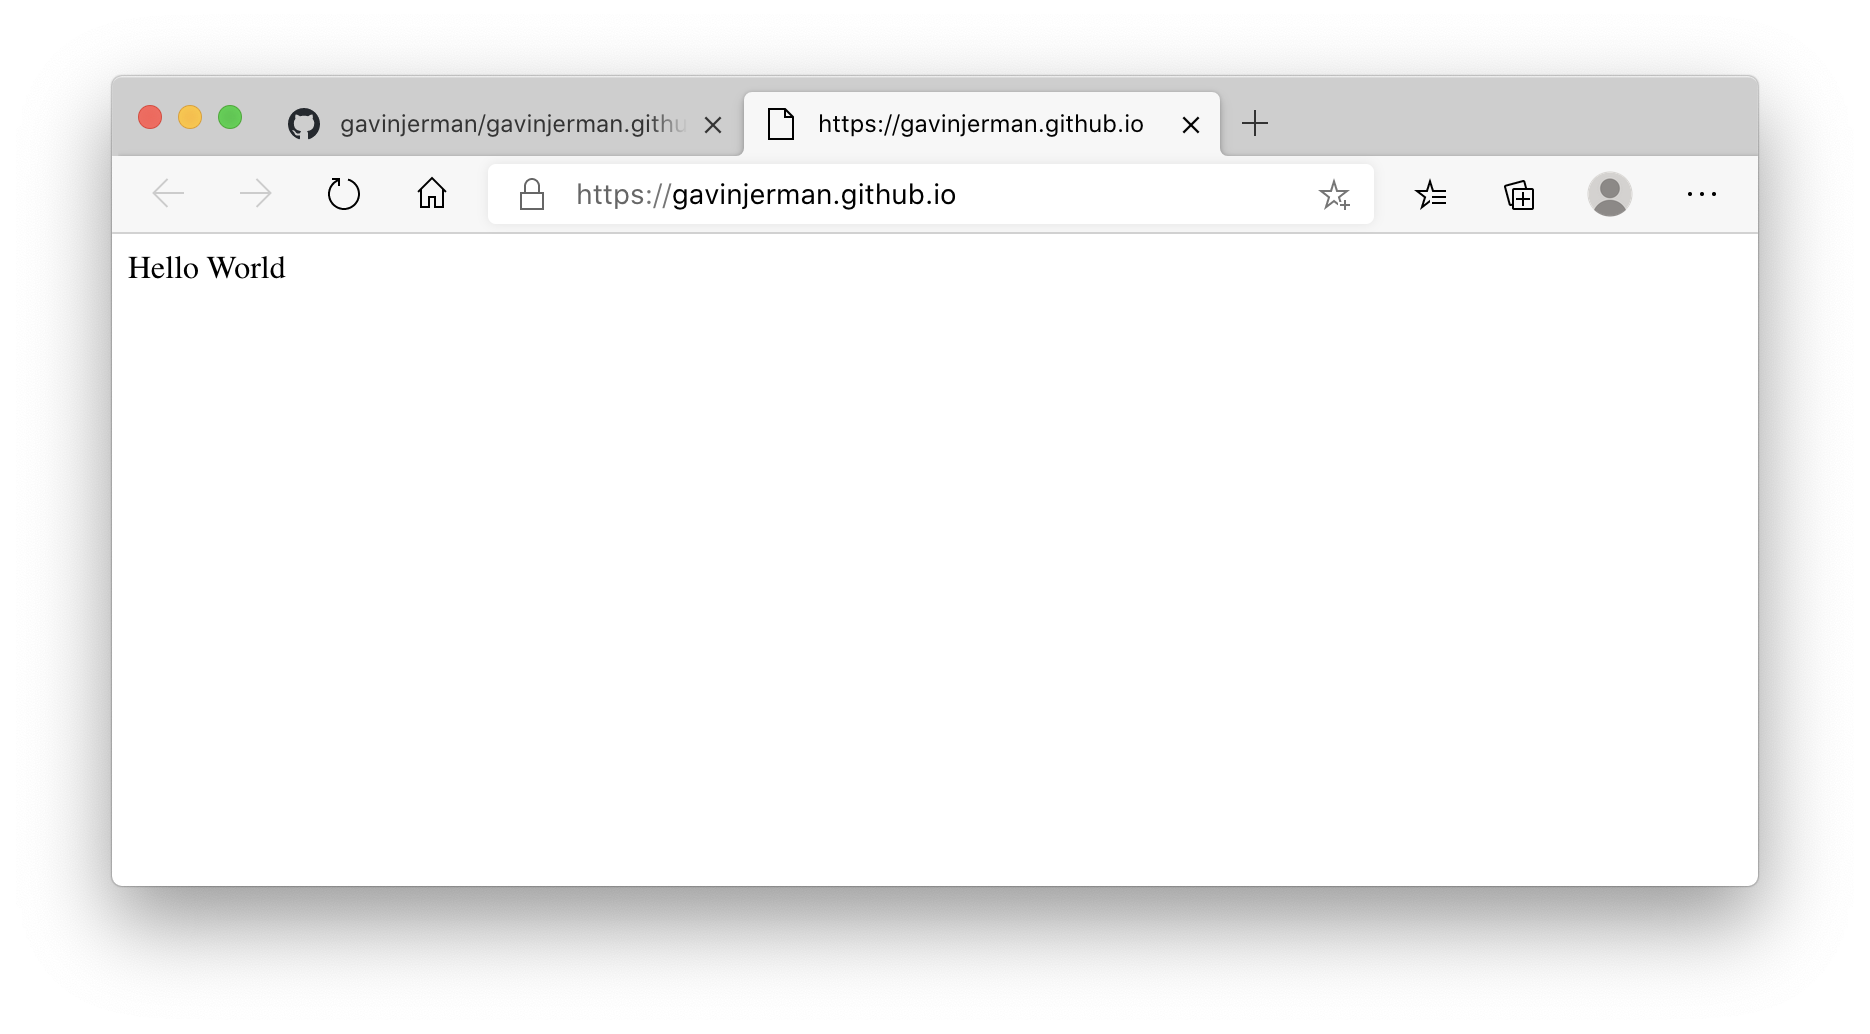
Step 2:
-
Following the GitHub instructions at Managing a custom domain for your GitHub Pages site, I set the ‘Custom Domain’ to www.jermware.net in the repository’s Settings. This creates a CNAME file specifying the custom domain. Whilst in Settings, I also selected the ‘Enforce HTTPS’ option.
-
To complete the Custom Domain changes I needed to make some changes with my DNS provider. After googling for instructions specific to my DNS provider 123 Reg (these were particularly useful), I created the a CNAME and 4 A records in my DNS:
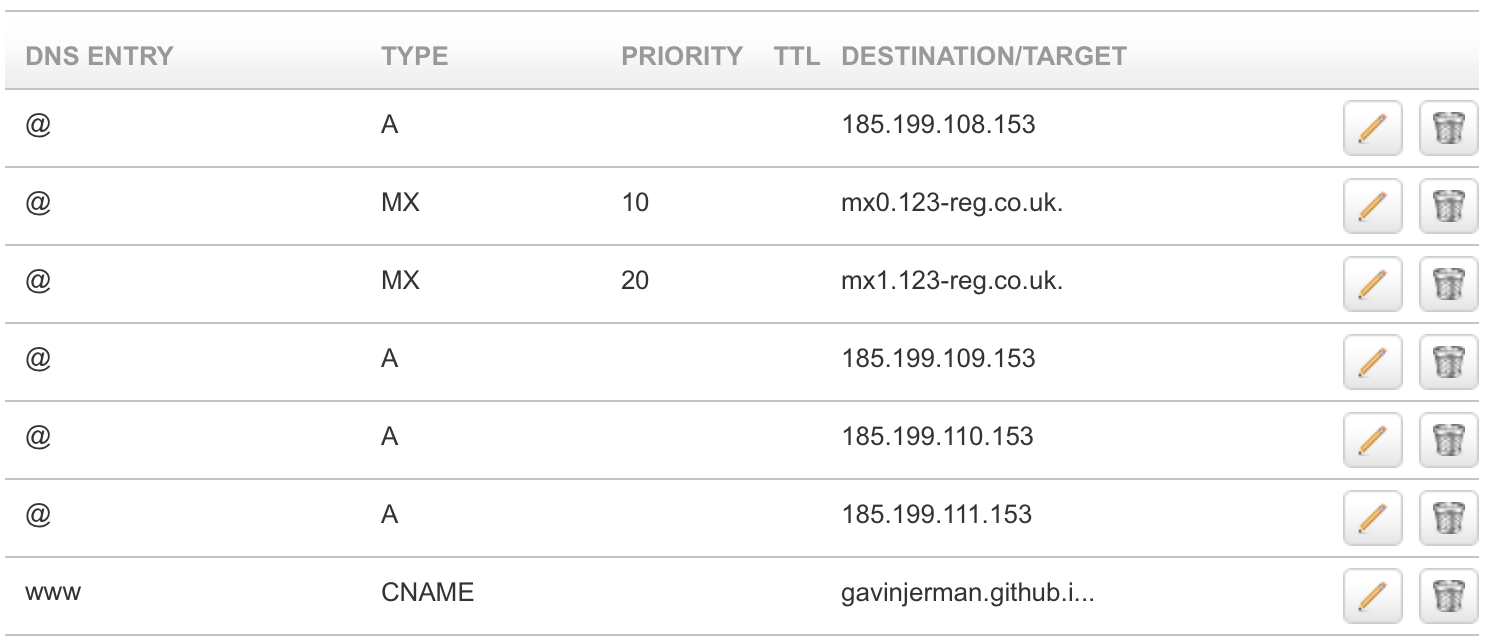
-
Once the DNS changes had propagated (this can take a couple of days), my website was available at jermware.net. The original URL http://gavinjerman.github.io now redirects to jermware.net:
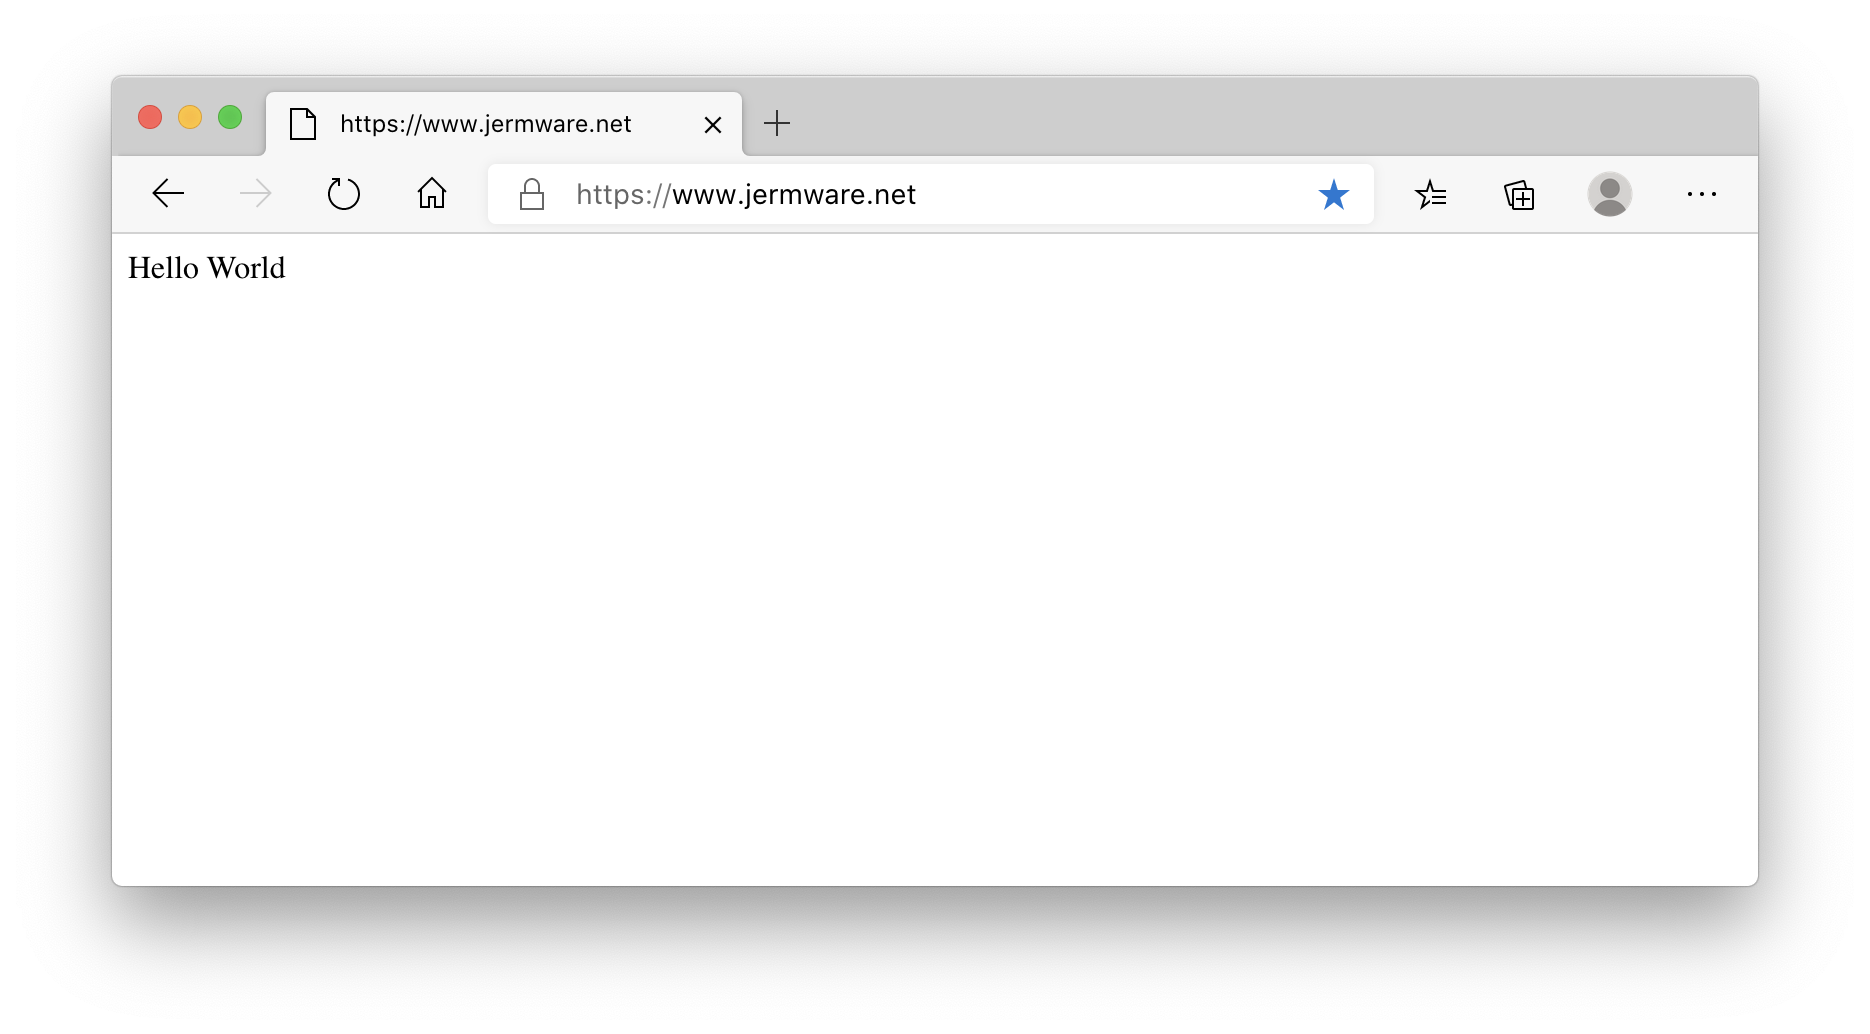
I now have a website using my custom domain and hosted on GitHub. Now to decide on a theme and customise it to my liking…